How to Program a LiftMaster Garage Door Opener
Programming a LiftMaster garage door opener might seem like a challenging task, but with a little patience and the right instructions, you can easily do it yourself. Whether you’re setting up a new opener, reprogramming an existing one, or adding an extra remote, this guide will walk you through the process step-by-step.
Understanding Your LiftMaster Garage Door Opener System
Before diving into the programming steps, it’s essential to understand the components of your LiftMaster garage door opener system. Typically, a garage door opener consists of:
- The Motor Unit: Mounted on the ceiling of your garage, this unit drives the opening and closing mechanism.
- Remote Controls: Handheld devices used to operate the garage door from a distance.
- Wall-Mounted Keypad: A keypad attached to the wall inside or outside your garage for manual operation.
- Sensors: Safety sensors that detect obstructions and prevent the door from closing on objects or people.
Gather Necessary Tools for Programming LiftMaster Garage Door Opener
Before you start, make sure you have the following:
- The remote control or keypad you want to program.
- A ladder to reach the motor unit.
- The instruction manual for your LiftMaster garage door opener (if available). If you don’t have the manual, most manufacturers have digital copies available on their websites.
Step-by-Step Programming Instructions for LiftMaster Garage Door Opener
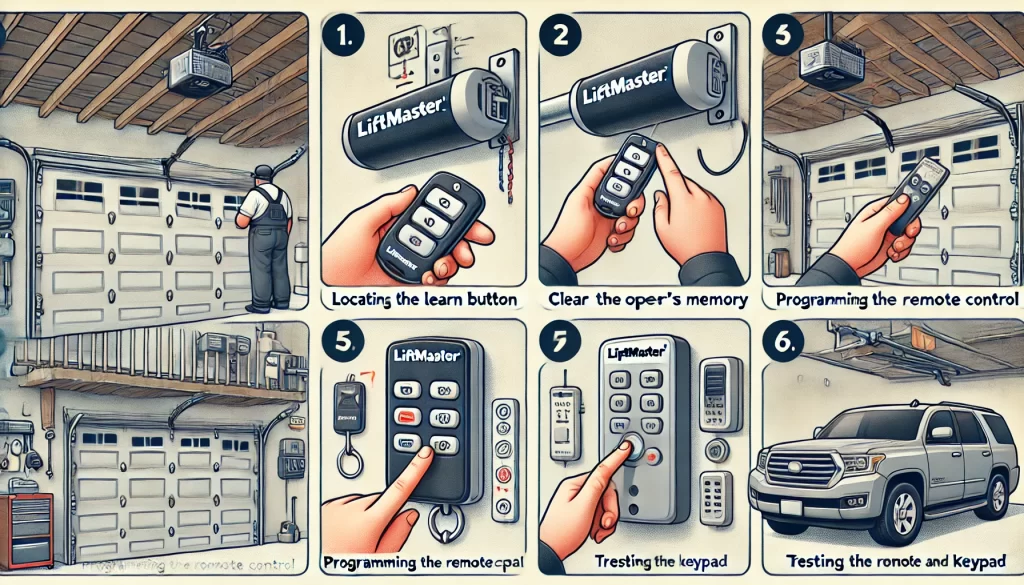
Step 1: Locate the Learn Button on Your LiftMaster Opener
The first step in programming your LiftMaster garage door opener is to locate the “Learn” button on the motor unit. This button is usually found on the back or side of the unit and may be labeled as “Learn,” “Program,” or something similar. The color of the button may vary by manufacturer (commonly yellow, red, orange, or purple).
Step 2: Clear the LiftMaster Opener’s Memory
If you’re reprogramming an existing opener or adding a new remote, it’s a good idea to clear the opener’s memory to ensure no old codes interfere. To do this:
- First, press and hold the Learn button for about 6 seconds until the indicator light turns off. This action clears all previously programmed remotes and keypads.
Step 3: Program the LiftMaster Remote Control
Once the memory is cleared, you can begin programming your LiftMaster remote control:
- First, press and release the Learn button on the motor unit. The indicator light will turn on, signaling that the unit is in programming mode.
- Within 30 seconds, press and hold the button on the remote control that you want to use to operate the garage door.
- Finally, release the button when the motor unit’s lights blink or you hear a clicking sound. This indicates that the remote control has been successfully programmed.
Step 4: Program the Wall-Mounted Keypad for LiftMaster Opener
If you have a wall-mounted keypad, follow these steps to program it:
- First, press and release the Learn button on the motor unit.
- Next, within 30 seconds, enter a four-digit PIN of your choice on the keypad and press the Enter button.
- Consequently, the motor unit’s lights will blink, or you’ll hear a clicking sound, indicating that the keypad has been successfully programmed.
Step 5: Test the Remote and Keypad for LiftMaster Garage Door Opener
After programming, it’s crucial to test the LiftMaster remote control and keypad to ensure they operate the garage door correctly:
- First, stand a reasonable distance from the garage door and press the button on the remote control. The door should open or close smoothly.
- Next, enter your PIN on the keypad and press Enter. Therefore, the garage door should respond by opening or closing.

Troubleshooting Tips for LiftMaster Garage Door Opener
If the garage door doesn’t respond to the remote control or keypad, try the following troubleshooting steps:
- Check the Batteries: Ensure that the batteries in your remote control and keypad are fresh and installed correctly.
- Reprogram the Opener: Repeat the programming steps to ensure that you followed each step correctly.
- Consult the Manual: Additionally, refer to your LiftMaster garage door opener’s instruction manual for specific troubleshooting tips related to your model.
Safety Precautions When Programming LiftMaster Garage Door Opener
Programming a garage door opener involves working with electronic devices and sometimes climbing a ladder. Therefore, keep these safety tips in mind:
- Use a Stable Ladder: Ensure the ladder is stable and placed on a flat surface.
- Avoid Moving Parts: Moreover, keep your hands and tools away from the moving parts of the garage door opener.
- Follow Manufacturer’s Instructions: Always follow the instructions provided by the manufacturer to avoid any potential hazards.
Conclusion
In conclusion, proper maintenance and timely repairs are essential for the longevity and reliability of your LiftMaster garage door system. By understanding the importance of garage door opener programming and maintenance, and enlisting professional help when needed, you can enjoy smooth and trouble-free operation for years to come.
However, if you find the programming process challenging or encounter any issues, consider reaching out to ProGuard Garage Door. Serving Illinois, our team of experienced technicians is ready to assist you with all your garage door needs, from programming and repairs to maintenance and installation. Therefore, don’t let a malfunctioning garage door disrupt your day; contact ProGuard Garage Door today for prompt and reliable service.
For more tips and guides on how to program a LiftMaster garage door opener and other maintenance tasks, be sure to visit our blog regularly. Happy programming!
Recommended Resources
For additional information, you may find the following resources helpful:
- LiftMaster Official User Manuals: Access the official user manuals from LiftMaster for detailed instructions and troubleshooting tips.
- How to Program a LiftMaster Garage Door Opener – YouTube: Watch a visual guide on programming your LiftMaster garage door opener for step-by-step instructions.


